
Introduction
Cultured stones are a popular choice for homeowners and designers looking to enhance the beauty and elegance of their spaces. These man-made stones are created to mimic the look of natural stones such as granite, marble, and limestone, offering a cost-effective and versatile alternative for various construction and design projects. One of the key aspects of working with cultured stones is the process of polishing, which can significantly enhance the appearance and durability of the material. In this comprehensive guide, we will explore the art of polishing cultured stones, discussing the tools, techniques, and best practices to achieve a flawless finish.
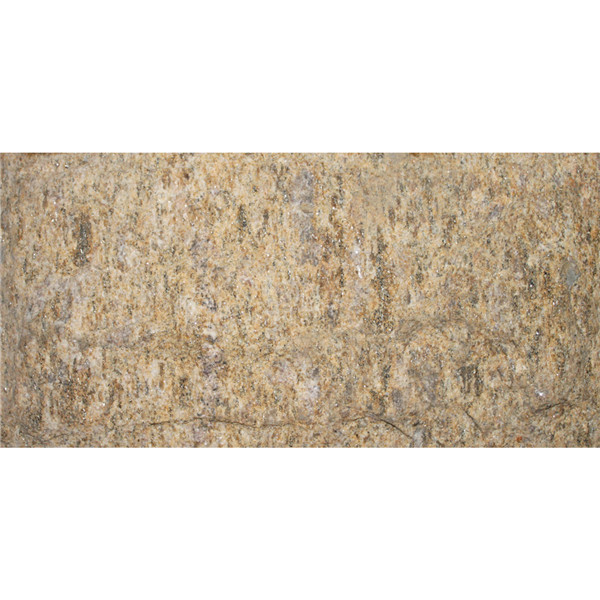
Understanding Cultured Stones
Before delving into the specifics of polishing cultured stones, it is essential to understand the composition and characteristics of these materials. Cultured stones are typically made from a blend of cement, aggregates, and pigments, which are molded and colored to resemble natural stones. The manufacturing process allows for a wide range of colors, shapes, and textures, making cultured stones a versatile option for both interior and exterior applications.
Unlike natural stones, which are formed over thousands of years through geological processes, cultured stones are manufactured in controlled environments, ensuring consistency in quality and appearance. However, like natural stones, cultured stones can benefit from polishing to enhance their aesthetic appeal and durability. Polishing not only brings out the natural luster of the material but also helps to seal the surface, making it more resistant to stains and wear.
Tools and Equipment for Polishing Cultured Stones
To achieve a professional finish when polishing cultured stones, it is essential to have the right tools and equipment at your disposal. Here are some of the key items you will need for the polishing process:
1. Polishing Machine: A high-quality polishing machine is essential for achieving smooth and even results when polishing cultured stones. There are ledgestone sale of polishing machines available, including hand-held polishers, rotary polishers, and floor polishers. Choose a machine that is suitable for the size and type of the project you are working on.
2. Polishing Pads: Polishing pads come in different grit levels, ranging from coarse to fine, and are used to remove scratches, imperfections, and dullness from the surface of cultured stones. It is important to use the correct grit sequence to achieve the desired level of polish. Diamond polishing pads are commonly used for polishing cultured stones due to their durability and effectiveness.
3. Sealer: A sealer is applied to the polished surface of cultured stones to protect it from stains, water damage, and wear. Sealing the stones after polishing helps to enhance their longevity and maintain their appearance over time. Choose a high-quality sealer that is suitable for the specific type of cultured stones you are working with.
4. Safety Gear: When working with polishing machines and chemicals, it is essential to prioritize safety. Wear protective gear such as goggles, gloves, and a dust mask to prevent injuries and exposure to harmful substances. Ensure proper ventilation in the work area to minimize the risk of inhaling dust and fumes.
5. Cleaning Supplies: Before polishing cultured stones, ensure that the surface is clean and free of debris, dust, and residues. Use mild soap and water or a specialized stone cleaner to remove any dirt or grime from the surface. This will help achieve a smooth and uniform polish.
Polishing Techniques for Cultured Stones
Now that you have gathered the necessary tools and equipment, it's time to explore the step-by-step process of polishing cultured stones. Follow these techniques to achieve a professional finish:
1. Preparation: Begin by preparing the surface of the cultured stones for polishing. Clean the stones thoroughly using a mild soap and water solution to remove any dirt, dust, or residues. Allow the stones to dry completely before proceeding with the polishing process.
2. Select the Right Polishing Pads: Depending on the level of polish you wish to achieve, choose the appropriate grit level for the polishing pads. Start with a coarse grit pad to remove any surface imperfections and scratches, then gradually move to finer grit pads to achieve a smooth and glossy finish.
3. Wet Polishing: Wet polishing is a common technique used for polishing cultured stones, as it helps to reduce heat and friction during the polishing process. Attach the polishing pads to the polishing machine and apply water to the surface of the stones to create a slurry. Move the polishing machine in a circular motion across the surface, ensuring even coverage.
4. Gradual Progression: When polishing cultured stones, it is important to work in gradual stages, starting with a coarse grit pad and progressing to finer grit pads. This step-by-step approach ensures that each polishing pad removes the scratches and imperfections left by the previous pad, resulting in a flawless finish.
5. Final Polishing: Once you have completed the polishing process with the finest grit pad, inspect the surface of the cultured stones for any remaining imperfections or dull spots. If necessary, repeat the polishing process with a finer grit pad to achieve the desired level of polish. The final polishing stage should leave the stones with a smooth, reflective surface.
6. Sealing: After polishing the cultured stones, it is recommended to apply a sealer to protect the surface and enhance its durability. Use a high-quality stone sealer that is suitable for the specific type of cultured stones you are working with. Apply the sealer evenly across the surface and allow it to dry according to the manufacturer's instructions.
7. Buffing: To further enhance the shine and luster of the polished cultured stones, consider buffing the surface with a clean, dry cloth or buffing pad. This final step helps to remove any residue or streaks left by the polishing process, leaving the stones with a flawless finish.
Maintenance Tips for Polished Cultured Stones
After polishing and sealing cultured stones, it is important to maintain the surface to preserve its appearance and longevity. Here are some maintenance tips to keep your polished cultured stones looking pristine:
1. Regular Cleaning: To prevent dirt, dust, and stains from accumulating on the polished surface, regularly clean the cultured stones with a mild soap and water solution. Avoid using harsh chemicals or abrasive cleaners, as they can damage the finish of the stones.
2. Avoid Impact and Abrasion: Cultured stones, like natural stones, are susceptible to impact and abrasion damage. Avoid placing heavy objects directly on the polished surface and use coasters or protective pads under furniture to prevent scratches and dents.
3. Resealing: Periodically reseal the polished surface of the cultured stones to maintain its protective barrier against stains and wear. Follow the manufacturer's recommendations for sealer application and resealing frequency to ensure optimal protection.
4. Professional Maintenance: For heavily used or high-traffic areas, consider hiring a professional stone restoration company to perform periodic maintenance and re-polishing of the cultured stones. Professional technicians have the expertise and tools to restore the luster and beauty of the stones effectively.
Conclusion
Polishing cultured stones is a rewarding process that can transform the appearance of any space, adding elegance and sophistication to the surroundings. By following the techniques and best practices outlined in this comprehensive guide, you can achieve a flawless finish that showcases the beauty and durability of cultured stones. Remember to invest in high-quality tools and equipment, prioritize safety during the polishing process, and maintain the polished surface regularly to preserve its appearance for years to come. With proper care and maintenance, polished cultured stones can be a timeless and striking feature in any design or construction project.